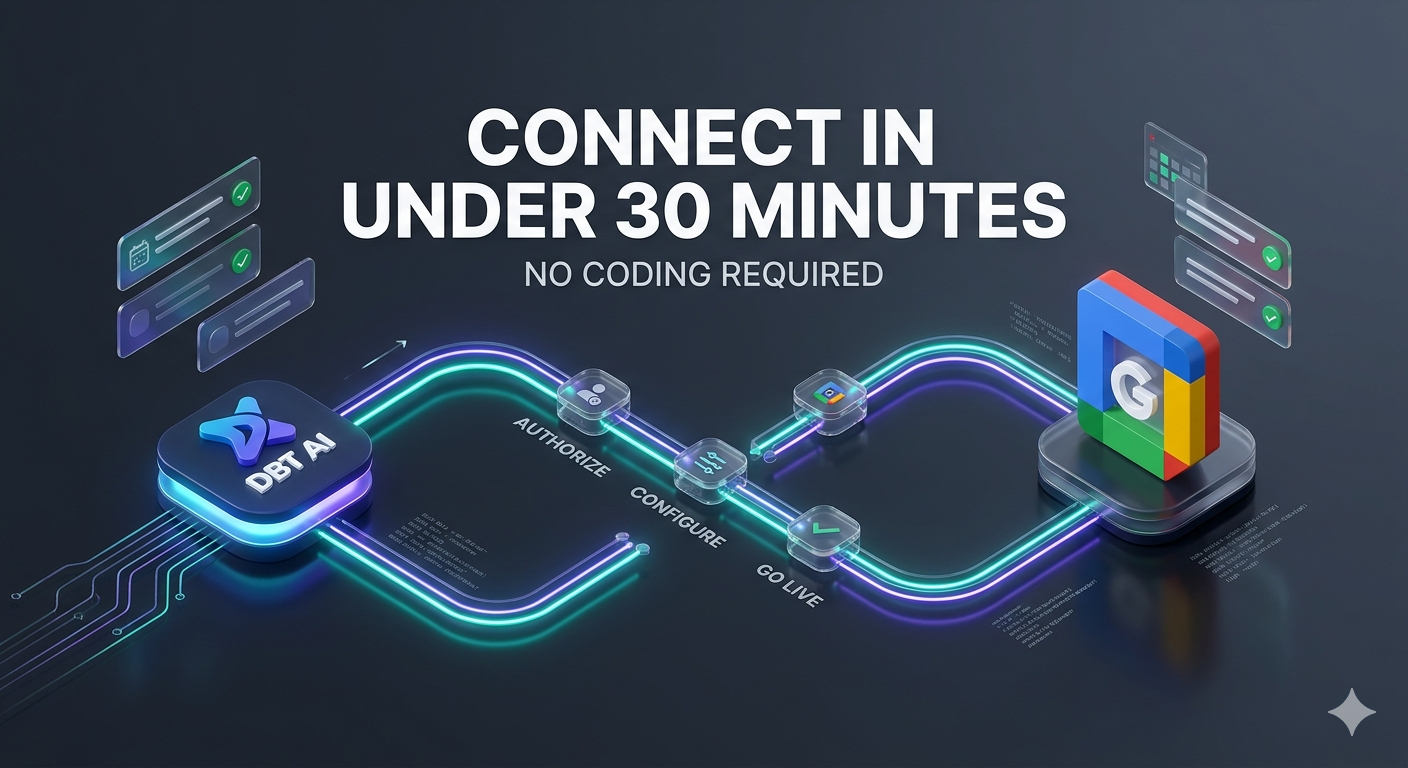
| Quick Answer To connect the DBT AI to Google Calendar, log into your DBT AI dashboard, go to Integrations, authorise your Google account with read and write calendar permissions, set your timezone and available booking hours, configure conflict handling rules, and run a test booking. The entire setup takes under 30 minutes and requires no technical knowledge or coding. Once live, the AI contacts every new lead within seconds and books confirmed meetings directly into your Google Calendar automatically. |
Setting up the DBT AI to work with your Google Calendar is one of the fastest ways to start converting leads into booked meetings automatically. Once connected, the AI contacts every new lead within seconds, qualifies them through a natural conversation, and places confirmed appointments directly into your calendar without you needing to lift a finger. Once your AI Appointment Booking System is connected, it can fully automate scheduling and confirmations without manual work.
This guide walks through the complete setup process from start to finish. It covers the Google Calendar connection, the exact permissions you need to grant, how to configure your timezone and availability rules, how to handle scheduling conflicts correctly, and how to run a test booking to confirm everything is working before you go live.
Every step is written in plain language. No coding knowledge is required. By the end of this guide, your AI appointment setter will be live, and your Google Calendar will be receiving real bookings automatically.
What You Need Before You Start: A Simple Pre-Setup Checklist
Before opening your DBT AI dashboard, make sure you have the following ready. Checking these items first prevents the most common setup delays.
- An active DBT AI account. If you do not have one yet, sign up at app.thedbt.ai. All plans include Google Calendar integration from the first day.
- A Google account that owns or manages the calendar you want to use for bookings. If you use Google Workspace at work, this is your company email address.
- Admin access to your Google Calendar account. If your calendar is managed by a company IT team, you may need to ask them to allow third-party OAuth connections before starting.
- A clear idea of your available booking hours. You will be asked to set this during setup, so it helps to know in advance which days and times you want leads to be able to book.
- Your business timezone confirmed. If your business serves clients across multiple time zones, decide which time zone you want your calendar to operate in before you begin.
If all five items above are ready, the setup process will be smooth and take well under 30 minutes. At this stage, your AI Scheduling Assistant should be ready to sync availability and booking rules seamlessly.
The Complete Admin Checklist: Every Setup Task in One Place
The table below covers every task you need to complete to connect the DBT AI to Google Calendar correctly. Use it as a reference during setup and tick each item off as you go. Tasks marked Required must be completed for the system to work. Tasks marked Recommended are strongly advised to maximize results.
| Connect your Google account to The DBT AI | Where to Do It | Status |
| Connect Google account to The DBT AI | DBT AI dashboard > Integrations | Required |
| Grant calendar read/write permission | Google OAuth consent screen | Required |
| Set your timezone in The DBT AI | DBT AI dashboard > Settings | Required |
| Define available booking hours | DBT AI dashboard > Availability | Required |
| Set minimum notice period | DBT AI dashboard > Availability | Recommended |
| Set buffer time between appointments | DBT AI dashboard > Availability | Recommended |
| Configure conflict handling rule | DBT AI dashboard > Calendar Sync | Required |
| Write or upload AI qualification script | DBT AI dashboard > Agent Setup | Required |
| Set up SMS and voice reminder sequence | DBT AI dashboard > Reminders | Recommended |
| Run a test booking end to end | Use a personal phone or email | Required |
| Confirm CRM sync is active | DBT AI dashboard > Integrations | If using CRM |
Work through this checklist from top to bottom during your setup session. The steps that follow in this guide map directly to each row in the table above.
Step 1: Connect Your Google Account and Grant Calendar Permissions
Log in to your DBT AI dashboard and navigate to the Integrations section in the left-hand menu. Many businesses combine this with an Automated Call Answering system to capture and respond to leads instantly. You will see a list of available calendar connections. Select Google Calendar and click Connect.

A Google OAuth screen will open in a new window or tab. This is Google’s standard permission screen. Sign in with the Google account that owns the calendar you want to use for bookings. You will be shown a list of permissions The DBT AI is requesting.
Grant all of the following permissions when shown:
- View and edit events on all your calendars (read and write access)
- View your calendar settings (needed to read your timezone and availability)
- Create, edit, and delete calendar events (needed to place and cancel bookings)
Important: If you only grant read access, the AI will be able to see your calendar, but will not be able to place bookings. Always grant full read and write permission. After authorizing, you will be returned to your dashboard, where Google Calendar will now show as connected.
Step 2: Set Your Correct Timezone to Prevent Booking Errors
Timezone mismatches are the single most common cause of incorrect bookings after a new setup. This becomes even more important when using an AI Business Phone System that interacts with leads across regions. If your AI dashboard is set to one timezone and your Google Calendar is set to another, the AI may book appointments at the wrong local time for you or your leads.

In your DBT AI dashboard, go to Settings and find the Timezone field. Set this to match your primary business location. For UK businesses, this is Europe/London. For US East Coast businesses, this is America/New_York.
Now check your Google Calendar timezone. To do this:
- Open Google Calendar on desktop.
- Click the settings gear icon in the top right corner.
- Select Settings from the dropdown.
- Under General, find the Time zone section and confirm it matches your business location.
- Save and close settings.
Both your DBT AI dashboard and your Google Calendar must show the exact same timezone before you move to the next step. This becomes even more important when using an AI phone Answering Service that handles leads across different regions. This single check prevents the majority of scheduling errors that new users experience.
Step 3: Set Your Availability Rules So Leads Can Only Book During the Right Times
In your DBT AI dashboard, navigate to the Availability section. This is where you tell the AI when it is allowed to offer booking slots to leads. When combined with a Virtual Receptionist Service, this ensures real-time booking without delays. The AI will only offer times that fall within your defined availability, even if your Google Calendar shows free time outside those hours.

Set each of the following availability rules before continuing:
- Working days: Select which days of the week you accept appointments. For example, Monday to Friday only, or including Saturday for client-facing service businesses.
- Start and end time: Define the earliest and latest time a booking can be placed. A common example is 9:00 AM to 5:30 PM.
- Appointment duration: Set how long each appointment lasts. This determines how the AI spaces bookings through the day.
- Minimum notice period: The shortest amount of time between now and the earliest slot a lead can book. A minimum of 2 to 4 hours is recommended to give you preparation time.
- •Buffer time between appointments: The gap between one meeting ending and the next beginning. A 10 to 15 minute buffer is strongly recommended to allow travel time, notes, or preparation.
Save these settings before moving on. Availability rules apply immediately after saving. If you change them later, the new rules apply to bookings made from that point forward. Existing calendar entries are not affected.
Step 4: Configure Conflict Handling So the AI Never Double-Books Your Calendar
Conflict handling determines what the AI does when a lead tries to book a time slot that is already occupied in your Google Calendar. Many businesses improve efficiency further by using an Automated Call Routing System alongside scheduling. This setting is critical to get right during initial setup.

In the Calendar Sync section of your DBT AI dashboard, find the Conflict Handling option. Set it to Block Busy Slots. This tells the AI to check your Google Calendar for existing events before offering any time slot to a lead. If a slot is already occupied by any calendar event, the AI will skip it and offer the next available slot instead.
The three conflict handling options are explained:
- Block busy slots (recommended): The AI checks your live calendar before every booking offer. Only truly free slots are offered to leads. This completely prevents double-booking.
- Allow overlap: The AI ignores existing events and books regardless of what is already in your calendar. This should only be used in very specific situations where you intentionally allow concurrent bookings.
- Ask before booking: The AI checks for conflicts and alerts you rather than booking automatically. This reduces automation and is not recommended if you want a fully hands-off system.
For the vast majority of businesses, Block Busy Slots is the correct setting. It provides complete double-booking protection without any extra steps.
Step 5: Set Up Your AI Agent Script and Qualification Questions
The AI needs to know what to say to your leads before it can book a meeting. A strong script supported by an AI lead Qualification System ensures only qualified prospects get booked. In the Agent Setup section of your dashboard, you will find the script configuration area. This is where you define how the AI introduces itself, what questions it asks to qualify the lead, and when it triggers the booking action.

You can either write your own qualification script or use the DBT AI template library. If this is your first setup, using a template for your industry is the fastest way to get live. Templates are available for marketing agencies, coaching businesses, real estate, medical practices, home services, and legal firms.
A well-structured agent script includes:
- An opening introduction that names your business and explains the purpose of the call.
- Two to four qualification questions that identify whether the lead is a good fit. These should cover the lead’s need, their timeline, and ideally their budget range.
- Objection handling lines for common responses such as ‘not sure yet’ or ‘can I just get some information first’.
- A booking trigger that activates when the lead confirms interest, offering available slots and placing the confirmed meeting in your Google Calendar.
You can also upload a document containing your business FAQs, and the AI will use this to answer questions leads ask during the call. This keeps every conversation sounding natural and on-brand.
Step 6: Activate Reminder Sequences to Reduce No-Shows From Day One
Once a booking is placed in your Google Calendar, the DBT AI can automatically send reminder messages to the lead before the appointment time. This is one of the most impactful settings in the entire system. Businesses that activate reminder sequences typically see no-show rates drop by 25 to 40% compared to relying on email confirmations alone. This is one of the key ways to Reduce Appointment No-Shows and improve attendance rates.

In the Reminders section of your dashboard, set up at least two reminder touchpoints:
- First reminder: An SMS message sent 24 hours before the appointment. This confirms the time, date, and purpose of the meeting and gives the lead a chance to reschedule if needed.
- Second reminder: A voice call or SMS sent 2 hours before the appointment. This is the highest-impact touchpoint. A personal-sounding voice reminder significantly increases attendance rates compared to a text message alone.
You can also activate a no-show follow-up that automatically contacts the lead within 30 minutes of a missed appointment to offer a rebook. This recovers a significant portion of missed meetings without any action from your team.
Save reminder settings and confirm the lead’s phone number format is correct in your contact data. UK numbers should include the +44 country code. US numbers should include +1.
Step 7: Run a Test Booking to Confirm Everything Works Before Going Live
Before connecting any lead sources or switching on your AI agent, run a complete end-to-end test booking. This confirms your AI Receptionist System works correctly before going live. This takes less than five minutes and confirms that all your settings are working correctly together.

How to run your test booking:
- In your dashboard, navigate to Agent Setup and find the Test Mode option.
- Enter your own mobile number as the test lead’s contact number.
- Trigger the test by clicking Run Test Call. The AI will call your mobile exactly as it would call a real lead.
- Go through the full conversation as if you were a lead. Answer the qualification questions and accept a booking slot.
- After the call ends, open your Google Calendar and confirm a new event has appeared at the time you chose during the call.
- Check that the SMS confirmation arrived on your mobile within 2 minutes of the call ending.
If the booking appears in Google Calendar and the SMS confirmation arrives, your setup is complete, and your system is ready to go live. If either step fails, use the troubleshooting table in the next section to identify and fix the issue.
Troubleshooting: Fixing the 7 Most Common Setup Problems
If your test booking did not work as expected, or if you encounter issues after going live, the table below covers the most common problems and their solutions. Reviewing AI Appointment Scheduling Benefits can help identify setup gaps. Work through the Fix column for any issue you experience.
| Save the availability settings after changing the buffer time value | Likely Cause | Fix |
| AI books outside your available hours | Timezone mismatch between Google and DBT AI | Match timezone in both Google Calendar settings and DBT AI dashboard |
| Double booking occurs | Conflict handling set to ‘allow’ | Set conflict rule to ‘block busy slots’ in Calendar Sync settings |
| Lead receives no confirmation SMS | Reminder sequence not activated | Enable SMS reminders in DBT AI Reminders tab and verify phone number format |
| Test booking does not appear in Google Calendar | OAuth permission not fully granted | Re-authorise Google account with full read/write calendar permission |
| AI qualifies but does not book | Booking step missing in agent script | Add booking action node after qualification step in Agent Setup |
| CRM does not update after booking | CRM sync toggled off or wrong API key | Check CRM integration tab and re-enter API credentials |
| Buffer time not being applied | Buffer set in DBT AI but not saved | Save availability settings after changing buffer time value |
If you encounter a problem not listed in this table, contact The DBT AI support team at info@thedbt.ai. Include a description of the issue, the step number where it occurred, and a screenshot of your dashboard settings if possible. Most issues are resolved within one business day.
What Happens After You Go Live: How The DBT AI Uses Your Google Calendar to Book Real Leads
Once your setup is complete and you have connected your first lead source, the system operates fully automatically. At this point, your setup functions like a complete AI receptionist services solution. Here is what happens from the moment a new lead enters the pipeline.
The Lead Arrives and Is Contacted Within Seconds
The moment a lead submits a form, calls your number, or enters the system through any connected source, The DBT initiates outbound contact within seconds. Using an AI phone assistant ensures instant response to every lead. It calls or texts the lead using your business name and your configured script. There is no delay, no voicemail queue, and no human intervention required.
Research from InsideSales.com shows that contacting a lead within five minutes of their enquiry increases contact rates by 100 times compared to waiting 30 minutes. The DBT AI’s sub-five-second response puts your business in the strongest possible position on every single lead.
The AI Qualifies the Lead and Checks Your Live Calendar
As the conversation progresses, the AI asks your qualification questions and assesses whether the lead meets your criteria. Compared to traditional tools, an AI vs Calendly comparison shows better automation results. At the same time, it is checking your live Google Calendar availability in real time, reading only the free slots that fall within your configured availability hours.
If the lead qualifies, the AI offers two or three available time slots from your calendar. The lead picks one, confirms their name and contact details, and the booking is placed. The event appears in your Google Calendar immediately, complete with the lead’s name, phone number, and any notes from the qualification conversation.
Reminders Go Out Automatically and No-Shows Are Handled
Your configured reminder sequence activates automatically from the moment the booking is confirmed. The lead receives their 24-hour SMS reminder and their 2-hour reminder without any action from your team. If the lead does not attend, the no-show follow-up contacts them to rebook. A 24/7 Call Answering system ensures no lead is missed.
All activity is visible in your dashboard in real time. You can see which leads were contacted, which qualified, which booked, which attended, and which no-showed. If you have connected a CRM, all of this data syncs there automatically as well.
Frequently Asked Questions About Connecting The DBT AI to Google Calendar
Does connecting the DBT AI to Google Calendar give it access to my personal calendar events?
The OAuth permission that the DBT AI requests gives it the ability to read and write events on your calendar. It uses this access to check availability and place bookings. It does not share your personal calendar data with any third party and does not read the content of existing events beyond checking whether a time slot is free or busy. Many businesses start by understanding AI receptionist benefits before implementing automation. If you want to keep personal events separate from business bookings, the cleanest approach is to create a dedicated Google Calendar specifically for appointment bookings and connect that calendar to The DBT AI rather than your primary personal calendar.
What happens if I update my availability rules after the system is already live?
Changes to availability rules in your DBT AI dashboard take effect immediately for new bookings. Leads who contact the system after you save the updated rules will be offered slots based on the new hours. Appointments that have already been confirmed before the change are not affected. They remain in your Google Calendar as booked. If you need to cancel or reschedule existing appointments due to an availability change, you can do so directly in Google Calendar and the system will reflect the updated status.
Can I connect multiple Google Calendars to one DBT AI account?
Yes. The DBT AI supports multiple calendar connections. Advanced setups often include CRM integration automation for better pipeline management. This is useful if you have a team of people who each need their own availability managed separately, or if you run multiple services or locations that need different booking rules. Each team member or location can have their own calendar connected with its own availability settings. The AI routes leads to the appropriate calendar based on qualification answers or lead source rules that you configure in the Agent Setup section.
Does the system work if my Google Calendar has a lot of existing events?
Yes. The conflict handling system reads your existing calendar events in real time before offering any slot to a lead. It does not matter how many events are already in your calendar. The AI simply works around them, offering only the genuinely free slots within your availability window. The more events your calendar already has, the more valuable the Block Busy Slots setting becomes, because it ensures leads are never offered a time you are already committed to.
How long does it take to see the first booking in Google Calendar after going live?
If you go live with an active lead source connected, such as a Facebook Ads lead form or a website webhook, the first booking can appear in your Google Calendar within minutes of switching the system on, provided a lead enters the pipeline during that time. Real-world AI appointment case studies show fast results after setup. In practice, most businesses see their first AI-booked appointment within the first few hours of going live. The exact time depends on how quickly new leads arrive from your connected source rather than any delay in the system itself.
You Are Ready to Go Live: What to Do Next
At this point, you have completed every step in the setup process. Your Google Calendar is connected, your timezone and availability rules are configured, conflict handling is set to block busy slots, your agent script is ready, your reminder sequences are active, and your test booking has confirmed the system works end to end.
The next step is to connect your first lead source. Using the Best AI answering service can fully automate lead handling. The most common starting points are a Facebook Ads lead form, a website contact form via webhook, or an inbound phone number. Each of these is set up in the Integrations section of your DBT dashboard using the same one-click process you used to connect Google Calendar.
Once a lead source is live, the system runs automatically. Every lead that enters gets an immediate response, every qualified lead gets a booking in your calendar, and every booking gets reminders sent automatically. Pairing this with an AI Customer Service Platform improves conversion rates. You will see the results in your Google Calendar and your DBT AI dashboard from the first day.
Ready to See the Difference?
Book a Live Demo with The DBT AI →
The DBT AI is an AI appointment setter built specifically for agencies, clinics, estate agents, coaches, and service businesses. It calls your leads within seconds, qualifies them through conversation, and books confirmed meetings directly to your calendar 24 hours a day, 7 days a week. No manual effort required.